Pressure canning broth, rather than freezing it makes for fast nutrient-dense meals. When purchasing shelf-stable broth, you have a choice to purchase fake meat-flavored water with additives, or pay a premium for a quality brand like Kettle and Fire. Pressure canning makes your homemade broth shelf stable, and is really simple to do!
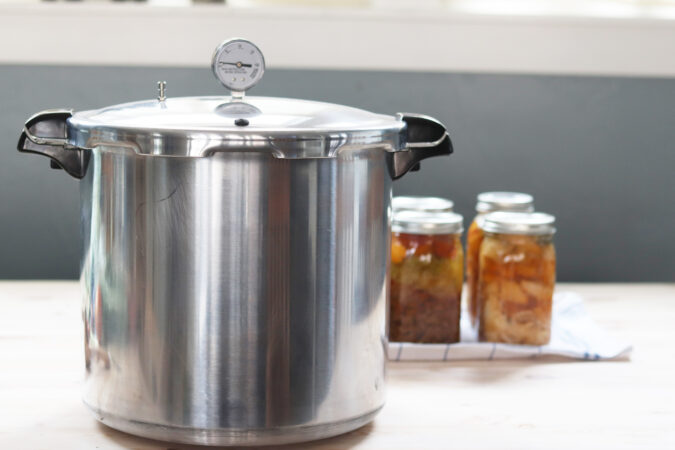
I wish I had known a decade ago about how easy pressure canning was. In my early 20s, I had been offered my mother-in-law’s terrifying-looking clamp-down pressure canner. After hearing her many many warnings about it, I was nice and scared and politely declined the offer. Fast forward to 2021, I spied jars of meat and broth in a friend’s pantry. She explained that canning really is easy, canners have a lot more safety features than our grandparents’ did, and I purchased her older pressure canner from her to give it a try.
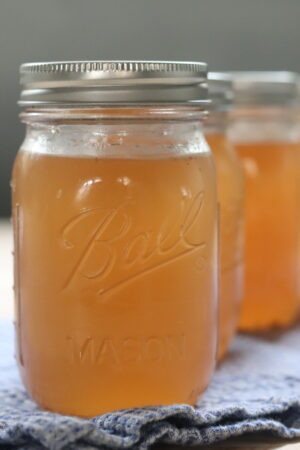
Since then I’ve been using canning jars on a weekly basis, and am excited to have quarts and quarts of homemade beef broth in my shelves- for only a few cents per quart!
How do you pressure can?
Read: Meat & Soup Pressure Canning Basics
Get the book
 This recipe is in the 30-Day Soup Challenge Cookbook! Thousands have taken my yearly 30-Day Soup Challenge (sign up here) and have requested a cookbook to reference off the computer. We’ve gotcha covered!
Find over 40 delicious gluten-free (many keto friendly and many GAPS friendly) and boost your immune system, watch your skin glows, sleep better, and slash your grocery bill in the process- just by including homemade soup once a week for a month this fall or winter.

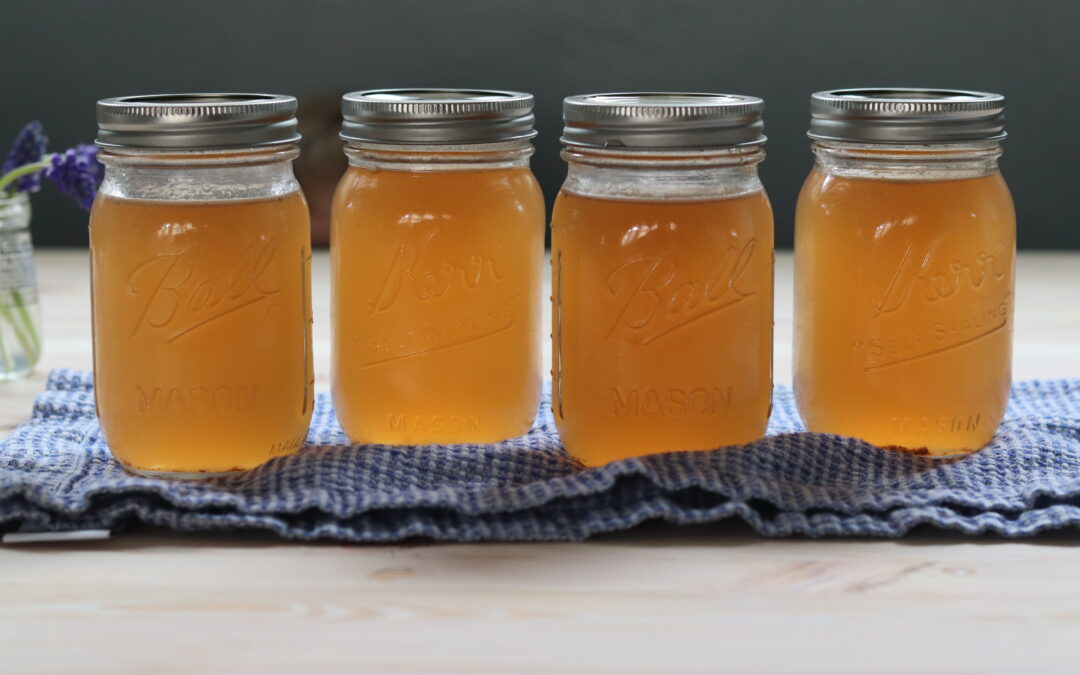
Home Pressure Canned Beef Broth
Tip: Pressure canning makes broth shelf stable and easy to store and transport, as long as you have room for glass jars. It’s really that easy to use- just open a jar and heat and drink or add to a recipe! Learn more about pressure canning here.
Ingredients
- 2 quarts broth or more, adjust the amount of jars you use to accomidate. See recipe for CHICKEN BROTH or BEEF BROTH
- 2 teaspoons sea salt optional
Instructions
-
Pre-heat jars and lids to hot but not boiling.
-
Pre-heat pressure canner over medium heat with 3-4 quarts water, or the amount indicated by your pressure canner’s manual.
-
Add hot broth to each jar, leaving 1 inch at the top. This is called headspace.
-
Add 1/2 teaspoon sea salt (optional) to each pint jar.
-
Use a clean towel dipped in vinegar to wipe the rim of each filled jar. Top with lids and screw on bands until firmly secured but not over tightened. As tight as you can get them without really forcing anything is just fine.
-
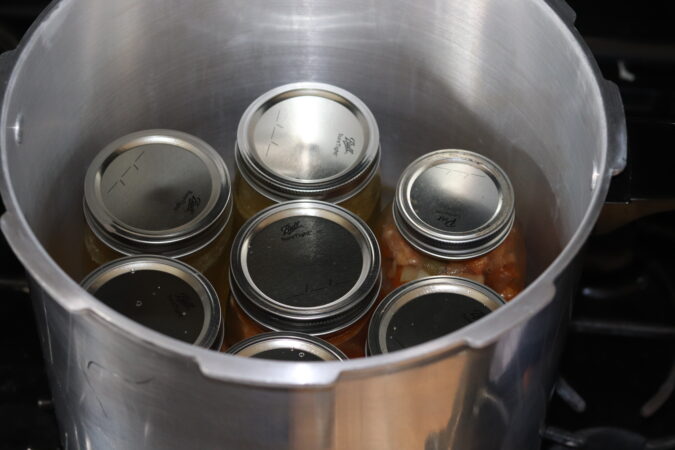
Place hot jars in hot canner and secure lid on canner. Turn heat to high.
-
Once steam is coming out of the vent pipe, allow to vent with steam coming out for 10 minutes.
-
Cover the vent pipe with the counter weight (dial gauges) or weighted gague (jiggler)
-
Once proper pressure is reached, process for indicated time below.
-
After the time has been reached at the proper pressure, remove from heat by either lifting off the electric burner or turning off the gas.
-
Allow canner to de-pressurize on its own, do not open the vent pipe. This takes about 30-45 minutes.
-
Once depressurized, remove jars carefully and allow to cool 1 inch apart on a cooling rack or folded towel. Once cool check lids for seal. If they are sealed, your broth is now good for 1 year at room temperature! Remove rings before storing.
Pressure & Time
-
Pressure: Under 1,000 feet 10 lbs Over 1,000 feet 15 lbs
-
Time: Pint jars 20 minutes, quart jars 25 minutes. *If mixing pint and quart jars, process all for the longer time