Food is getting expensive, ya’all! It’s time to take a look at pressure canning as we plan our outdoor gardens or are able to stock up on in-season produce this summer. Seeing pre-made shelf-stable soup lined up in my cabinet makes my heart flutter with joy. If you too get excited at the idea of your shelves lined up with homemade soup and broth read ahead, I think you will be surprised at how straightforward pressure canning actually is!
Isn’t Pressure Canning Terrifying?
Temperatures above boiling, glass jars, and whizzing steam, gauges, releases, and botulism- isn’t pressure canning best left to those who are kitchen pros?
Not at all! Pressure canning now is much easier than you may be picturing. Modern pressure cookers have multiple safety features and are much easier to use than you probably are expecting. Recipes have been tested over and over in home kitchens with normal margin of error, and shown to be safe over and over.
I wish I had known a decade ago about how easy pressure canning was. In my early 20s, I had been offered my mother-in-law’s terrifying-looking clamp-down pressure cooker. After hearing her many many warnings about pressure canning, I was scared and politely declined the offer. Fast forward to 2021, I spied jars of meat and broth in a friend’s pantry. She explained that canning really is easy, canners have a lot more safety features than our grandparents’ did, and I purchased her older pressure canner from her to give it a try.
Since then I’ve been using canning jars on a weekly basis, and am excited to have quarts and quarts of homemade soup in my shelves- for only a few cents per quart!

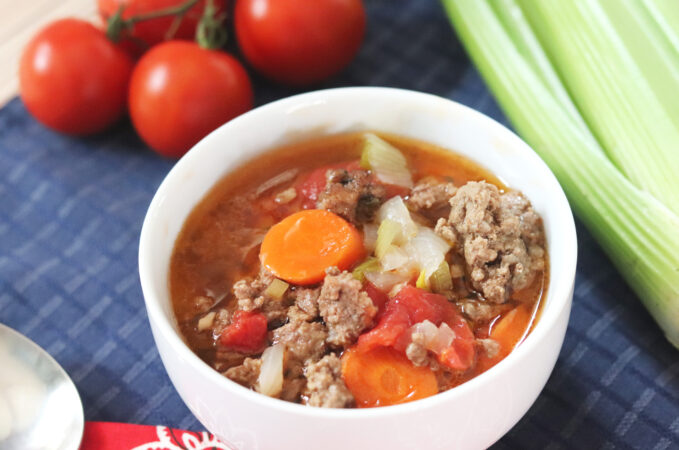
Beef and veggie soup can be canned
What can you pressure can?
You CAN pressure can:
- Broth
- Meat
- Vegetables
- Fruit
- Beans
- Seasonings and spices with any of the above
- Soups made of any of the above!
You can NOT pressure can*:
- Cream or dairy
- Coconut milk
- Grains or pasta
- Thickened soup such as soup thickened with corn starch
- Gravy thickened with flour or other thickeners
- Pureed soups or vegetables (pre-mashed potatoes, pureed squash, etc- special processing is needed to reach the middle of thick purees.
Good for us, most of our soups are completely pressure-cannable!
Dairy (cream, cheese, cream cheese, sour cream) can be added after re-heating.
*Rebel Canning
You actually can can some of this stuff on the ‘do not can list’, but it’s not blessed by the USDA, though it has been done for generations successfully. There is a movement called Rebel Canning that you may want to look up if you’re curious about this.
The Rebel Canners do things like cold-jar canning, canning dry beans and raw meat, canning milk, and more. For the purposes of this blog and my desire to not involved in a lawsuit, we are going to stick with the USDA guidelines here. If you do decide to deviate from USDA Guidelines, understanding botulism and the ins and outs of canning is important.

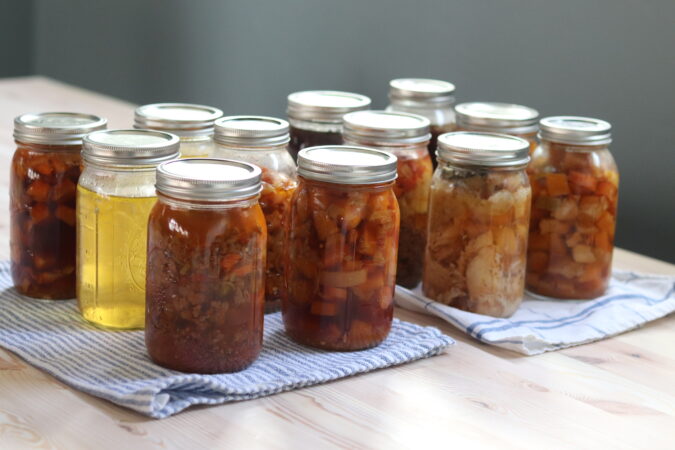
Canned homemade soups: Black Bean and Bacon, Chicken Broth, Basic Beef and Veggie, Ranch Chicken, and Autumn Chicken Soup. All cooked, shelf stable, and ready to serve!
Advantages of pressure canning
Canned broth (the glowing yellow in the picture above is chicken broth) makes for easy soup without having to reduce broth down or store in the freezer. Vegetables and meat can also be canned using broth as the liquid, making them homemade soup in a jar. Take advantage of the summer garden, seasonal produce, and farmers markets by canning excess food in season for use through the year.
I love canning especially because I can control the ingredients and I know exactly what is in my canned soup including how much salt is in it.
Unlike water-bath canning, the pressure canner keeps everything contained and doesn’t heat up the house nearly as much. You also don’t have to choose high-acidity foods, giving you a lot more options for low-carb meals.
Meat canned in the pressure canner is is incredibly tender and makes for super fast food! You all know how much I love freezer cooking and meal prep, and canning is just another way to do this!
Read: 4 Hours to Make 10+ Grain-Free Meals: The Ultimate Guide to Afternoon Freezer Cooking
Read: Ground Beef Meal Prep: Carnivore, GAPS, Keto
How does pressure-canned food taste?
Canned food holds the flavor inside the jars well, but the texture tends to change a bit. We all know what canned beans, corn, tomatoes, etc taste like, right? It’s the same for home-canned vegetables, except you can adjust the salt to your preference. Pressure canned foods, unlike water bath canned foods, do not rely on anything other than heat to pasteurize, so added vinegar or other acidity is not necessary.
Vegetables
- Green beans: I don’t love canned green beans, but my kids do, and they are nice and soft for the toddler.
- Peas: Canned peas are something most people DO not like at all, so freezing is recommended over canning for those!
- Broccoli: Broccoli does not hold up well in the high heat of canning and due to this there aren’t recommended times/temperatures from the USDA.
- Beets: Beets will stain other foods with their juice. They are great canned on their own if you like beets like we do though!
- Carrots: Carrots are great for canning and hold up well.
- Winter Squash: Winter squash like butternut holds up well and is great for canning. It must be canned in chunks rather than puree.
Beans
- Dry Beans: Pre-cooked (under cooked) dry beans like black beans, pinto beans, and navy beans all can really well and are so nice to have on the shelf! Can with broth instead of water for a boost in nutrition!
Meat
-
- Meat texture changes with canning. Browning meat before canning keeps all that rich flavor, which is good in soups and chilis, but if a dish is going to have meat as the star food (like meatballs!) the texture is too soft for my taste. To remedy this, because I do love the convenience of having pre-cooked meat shelf stable, I just brown it up after opening the jar. This is not necessary for food safety, but it does still cut your cooking time way down, and returns the meat to it’s pre-canned texture.
- For ground pork, I brown it right in the skillet and then add some eggs for a quick and easy and nutrient-dense breakfast.
- For taco meat, I just brown it right in a skillet and it’s ready in minutes for filling taco shells or making taco salad.
- Stew meat, roasts, and broth are all delicious right out of the can!
- Meat texture changes with canning. Browning meat before canning keeps all that rich flavor, which is good in soups and chilis, but if a dish is going to have meat as the star food (like meatballs!) the texture is too soft for my taste. To remedy this, because I do love the convenience of having pre-cooked meat shelf stable, I just brown it up after opening the jar. This is not necessary for food safety, but it does still cut your cooking time way down, and returns the meat to it’s pre-canned texture.
Try before you can in bulk
Before you can a whole pantry-full, it’s best to make 1-2 pints of a recipe, can it, and then let it sit for a week. Then try it and see what you think before committing to jars and jars of it! Food that you don’t love canned can often be preserved in the freezer instead.
NEEDED EQUIPMENT for Pressure Canning
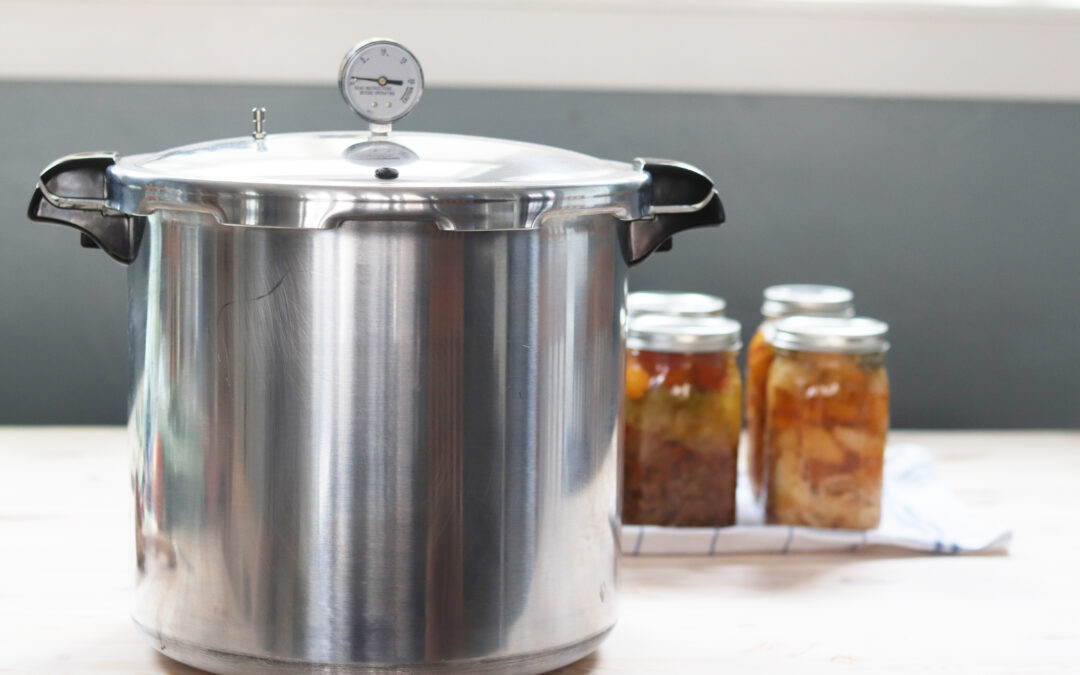
- Pressure Canner: Pressure canning has to come to a specific pressure, and though the principals are similar, pressure canning cannot be done in an Instant Pot other than the Instant Pot Max at the time of this writing.
-
- Presto: The 23-quart Presto Canner is what I bought, and I love it! Since it’s aluminum, and I don’t like cooking in aluminum, I wouldn’t cook in it, but for canning jars it is fantastic! It holds 7 quart-sized jars or 20 pint-sized jars at once.
- All American: Gold standard in pressure canning, the All American is top of the line and worth the investment if you want to treat yourself, and know you will can often. The 25-Quart All American Canner holds 7 quart jars or 17 pint jars at onces.
- Instant Pot Max: Lower capacity than the other two, if I didn’t already have an Instant Pot I might consider purchasing this, but for use as a pressure canner it can’t hold much. This is the ONLY Instant Pot that you can pressure can in. Holds 4 pint-size jars for small batches. You can buy the Instant Pot Max here.Cost saving tip: I borrowed my first pressure canner to try it out and see whether it was something I enjoyed doing, and my family enjoyed eating the results. I was instantly hooked, and soon went out to buy my own. Borrowing before buying is always recommended!
Jars and Accessories
- Canning jars: Quart, Pint, wide mouth, regular mouth. You are only limited in size by what fits in your canner. Jars can be stacked in most canners too, so if single serving canning works better for you, go on ahead and stock up with pint jars!
- Canning rings: Don’t stock up on the rings and lids, you actually want to take the rings off after canning and store your filled sealed jars with just the lids. Your jars will come with rings.
- Canning jar lids: Go with well known brands Ball or Kerr, some of the new and lesser known brands don’t have as reliable of a seal. You’ll need new lids each time, this ends up being our only ongoing expense for canning other than a small amount of electricity or gas needed for the stovetop. I find that Walmart often has lids when other places often only sell the ring/lid sets.
- Jar lifter: Keeping the jars upright as they are removed from the canner is important to ensure the lids seal. This jar lifter lifts jars both out of hot water before filling and after canning.

BASIC STEPS for Pressure Canning
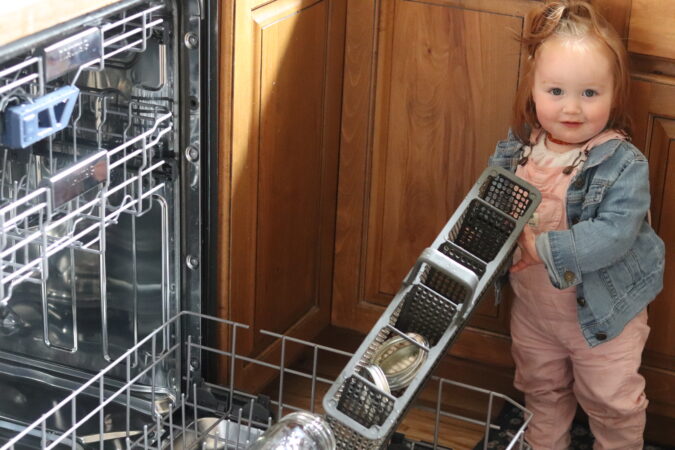
Wash Jars: Because we bring pressure-canned jars up to such a high temperature, we only need to wash them rather than sterilize as is needed for water bath canning. A dishwasher is just fine for cleaning!
Prepare Food: Undercooked, cooked, or sometimes raw food is canned. Prepare your food as indicated on the recipe you are using. It should be noted that there are lots of conflicting opinions when it comes to canning food. For this book we are using the USDA guidelines, which have been extensively tested and studied and found to be safe over and over.
All food to be canned should be of good quality, and produce scrubbed clean, or peeled.
Fill Jars: Quart, Pint, wide mouth, regular mouth. You are only limited in size by what fits in your canner. Jars can be stacked in most canners too, so if single serving canning works better for you, go on ahead and stock up with pint jars!
Pre-Heat Pressure Canner: Don’t stock up on the rings and lids, you actually want to take the rings off after canning and store your filled sealed jars with just the lids.
Cook and Cool: Go with well known brands Ball or Kerr, some of the new and lesser known brands don’t have as reliable of a seal. You’ll need new lids each time, this ends up being our only ongoing expense for canning other than a small amount of electricity or gas needed for the stovetop. I find that Walmart often has lids when other places often only sell the ring/lid sets.
Pressure Canned Recipes
From the USDA site, how to pressure can (overview)
- How to pressure can ground beef (or pork or other meat)
- How to pressure can broth
- How to pressure can vegetables


We got a side of beef last year and still have quite a lot of bones. This year we are getting an entire cow so I desperately need to turn those bones into jars of broth pronto to make room for steaks and roasts abs hamburger. I may end up cooking some of the ground and canning it after your recommendation. Love love love the rebel canning groups. I’m thinking I may turn the new bones into broth right away soo I have enough room in my freezers for everything Else.
The groups are so interesting, aren’t they?! All that canned broth will be so good!
Yay! I love pressure canning! This morning I did 11 pints of cubed chicken in chicken bone broth. And I’ve got 13 pints of cubed pork in pork bone broth going this afternoon. Beef is also on a good sale this week, so that is my project for tomorrow. And for the rest of the week, I have three different soups I plan to pressure can in quarts. There is earthquake potential where we live, so I store my home-canned items in Safe Crates. Thanks for your post, Cara!
It feels so productive doesn’t it?! Great work! I’ll have to look into Safe Crates, we don’t have earth quakes but I’m curious
I’ve recently read that canning lids with the red seal can be used 10-20 times. I personally use them with success 4-5 times (have never tried more often) as long as the seal is not damaged. This is not true for white seals. They are a one-time use.
Oh good to know! I tried re-using the white ones and that didn’t work :P
Do you have the recipe for that beef and veggie soup in the photo above?
Have you have the recipe for the beef and vegetable soup seen above?
Thanks
All the best , Thanks a lot…