
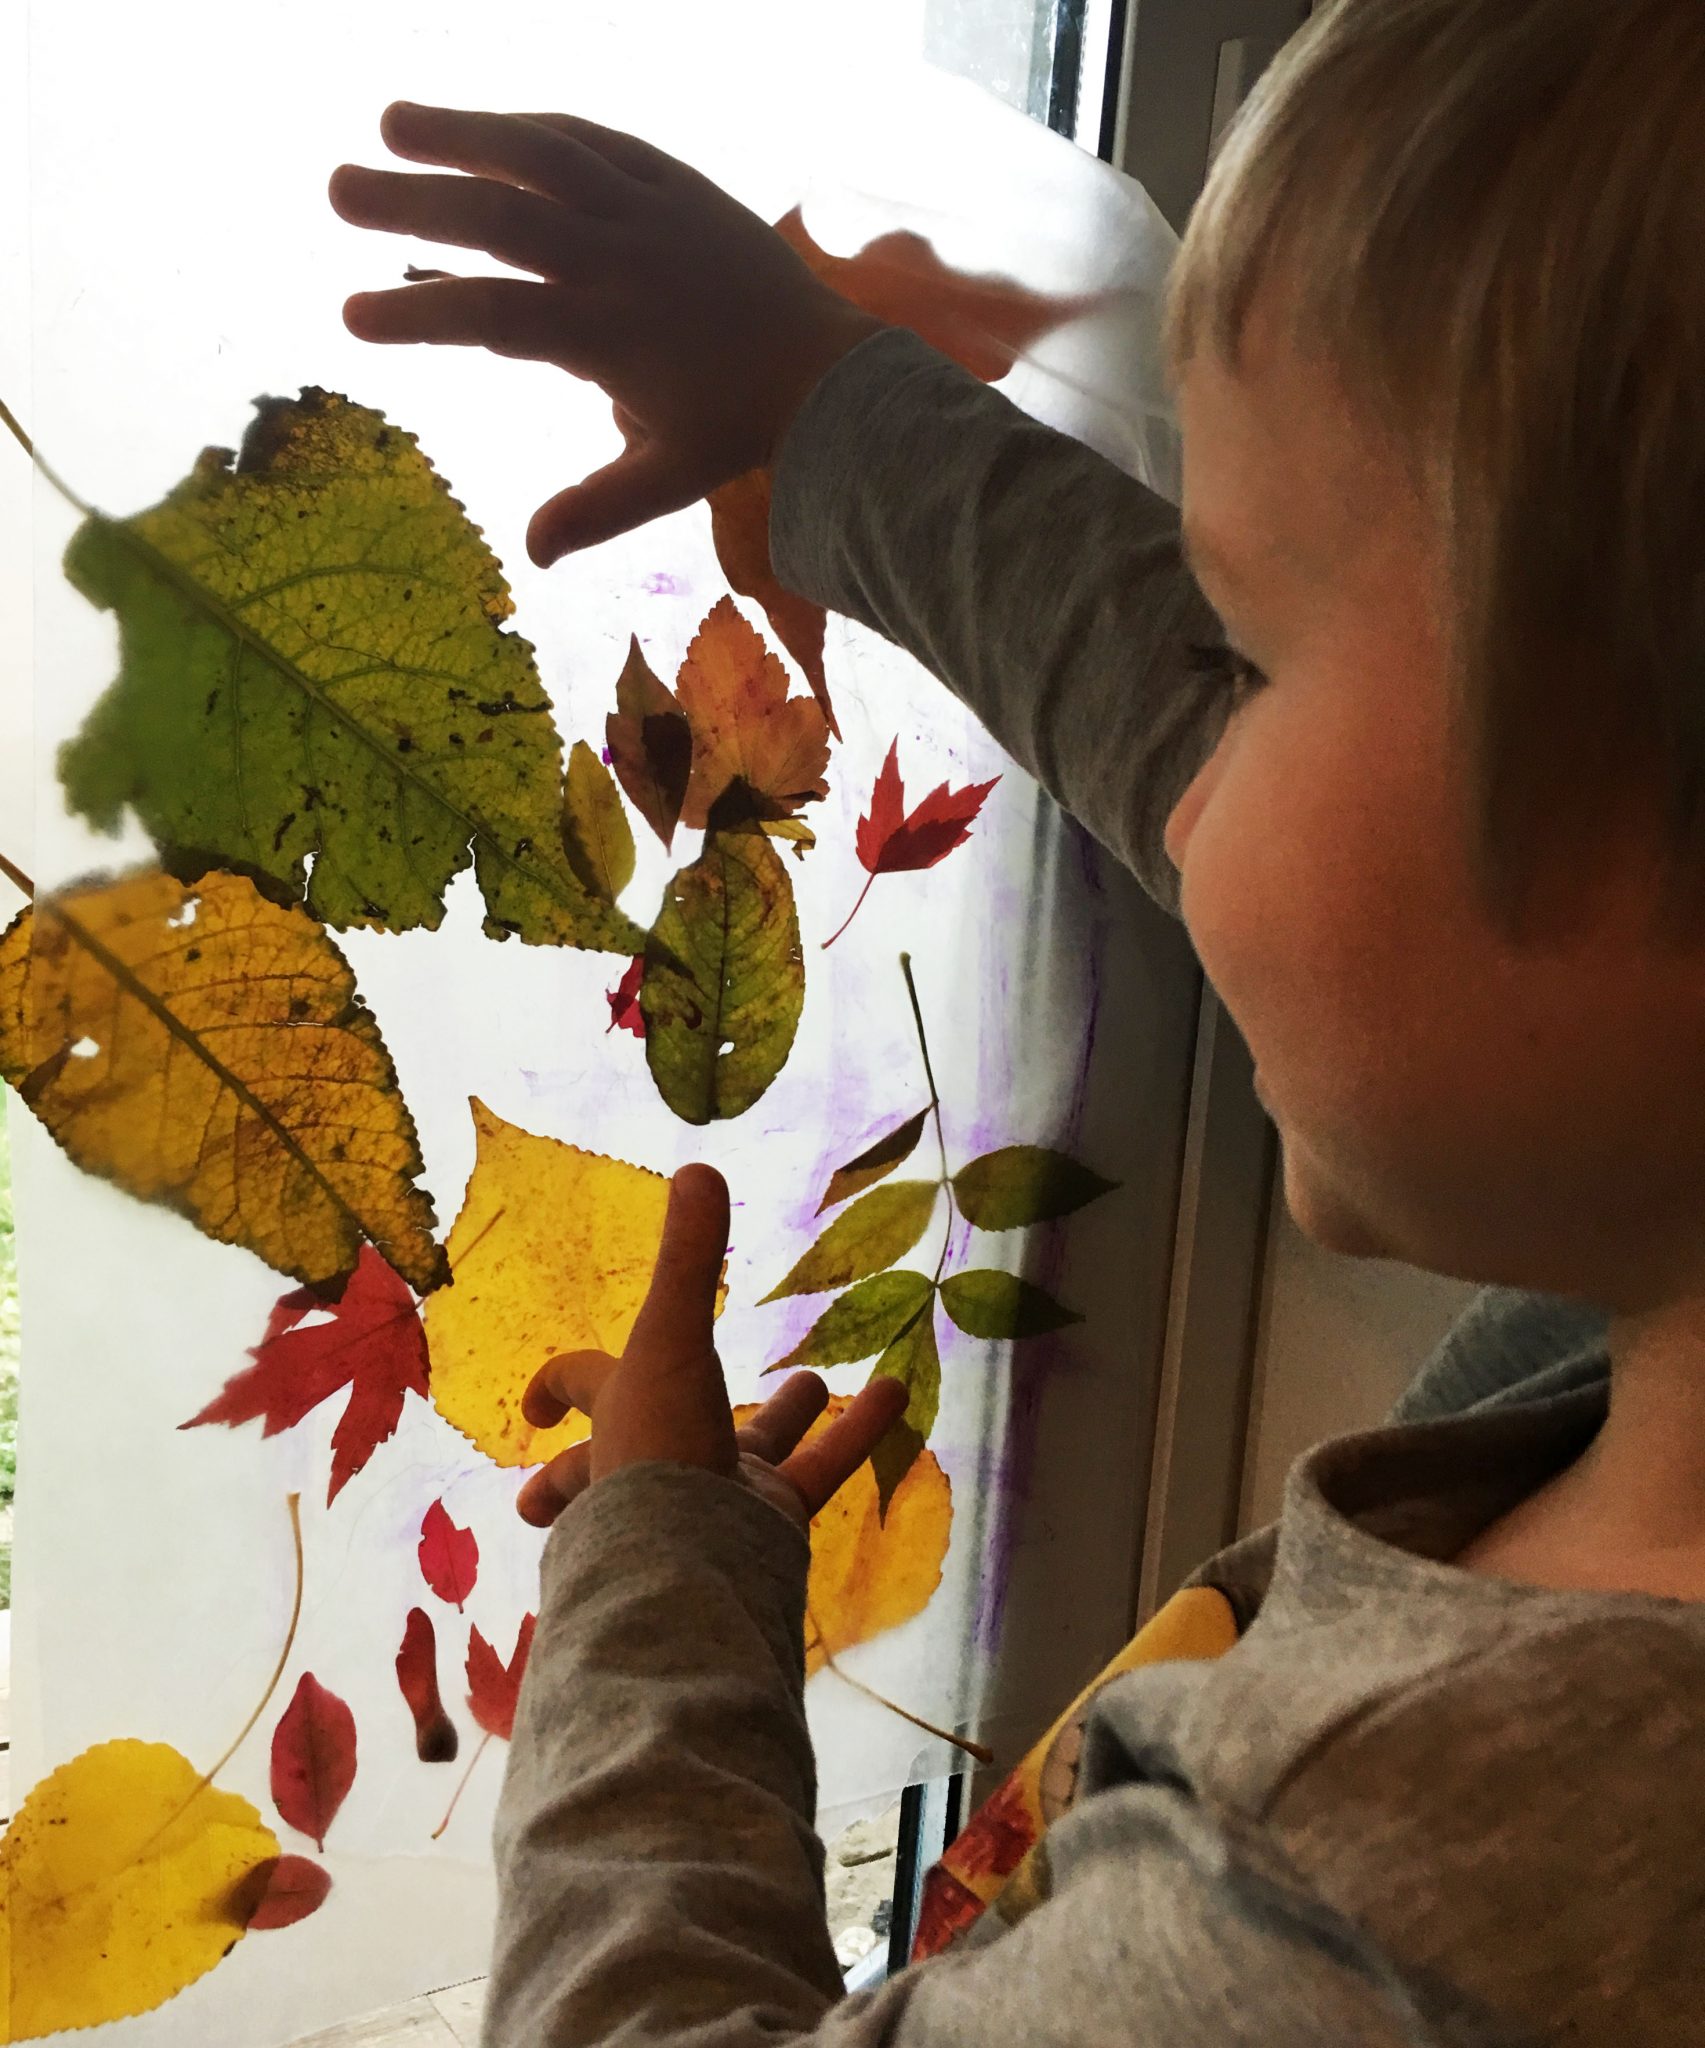
This fall craft is simple enough for even less-crafty families, makes good use of the treasure of leaves your little one collects on autumn walks, and looks absolutely beautiful in the light of a window. All you need to do this is about half an hour, waxed paper, leaves, and glue!
We tape our waxed paper leaf ‘stained glass’ over a front-facing window for a little more privacy as the days get shorter, but this leaf craft will bring seasonal warmth into any window you choose.
Craft Traditions
Working with toddlers and preschoolers, I learned that while adults may get bored doing the same thing over and over, children absolutely delight in the repetitivity of doing the same activity day after day, or year after year. Adults enjoy some repetition as well, that’s why traditions are part of every culture. This craft is our fall tradition.
To keep our traditions fun, and not obligations, we keep them very simple! Remember, our children don’t care how elaborate the craft is, they enjoy the process and spending time with us. If you love elaborate crafts, you may want to take some time to yourself to do those as a form of self care.
Another tradition: Dairy-Free Creamy Hot Cocoa (GAPS, Paleo)
The love of repetition, and delight in the simple is especially true with our preschool and toddler age groups, though even older children often shyly join in for the story time, or seasonal crafts like this one.
Read similar: 12 Gifts that Encourage Healthy Independence for Toddlers
Working memory and repetitive activities
For children with special needs that have problems with processing or short term memory, or adults with neurological conditions that affect memory, you may find that they can tap into long-term memory better than short term memory. In addition to those with special needs (especially developmental delays, and alzheimer’s) that impair memory, preschool-age children are still developing their capacity for working memory. (source)
For these individuals, they may find it easier to carry out a craft that they did last year, or have done many of the previous years, than be able to implement a new craft – even if you are right there telling them what to do. It’s because they’re drawing from long-term memory, not ‘working’ or short-term memory.
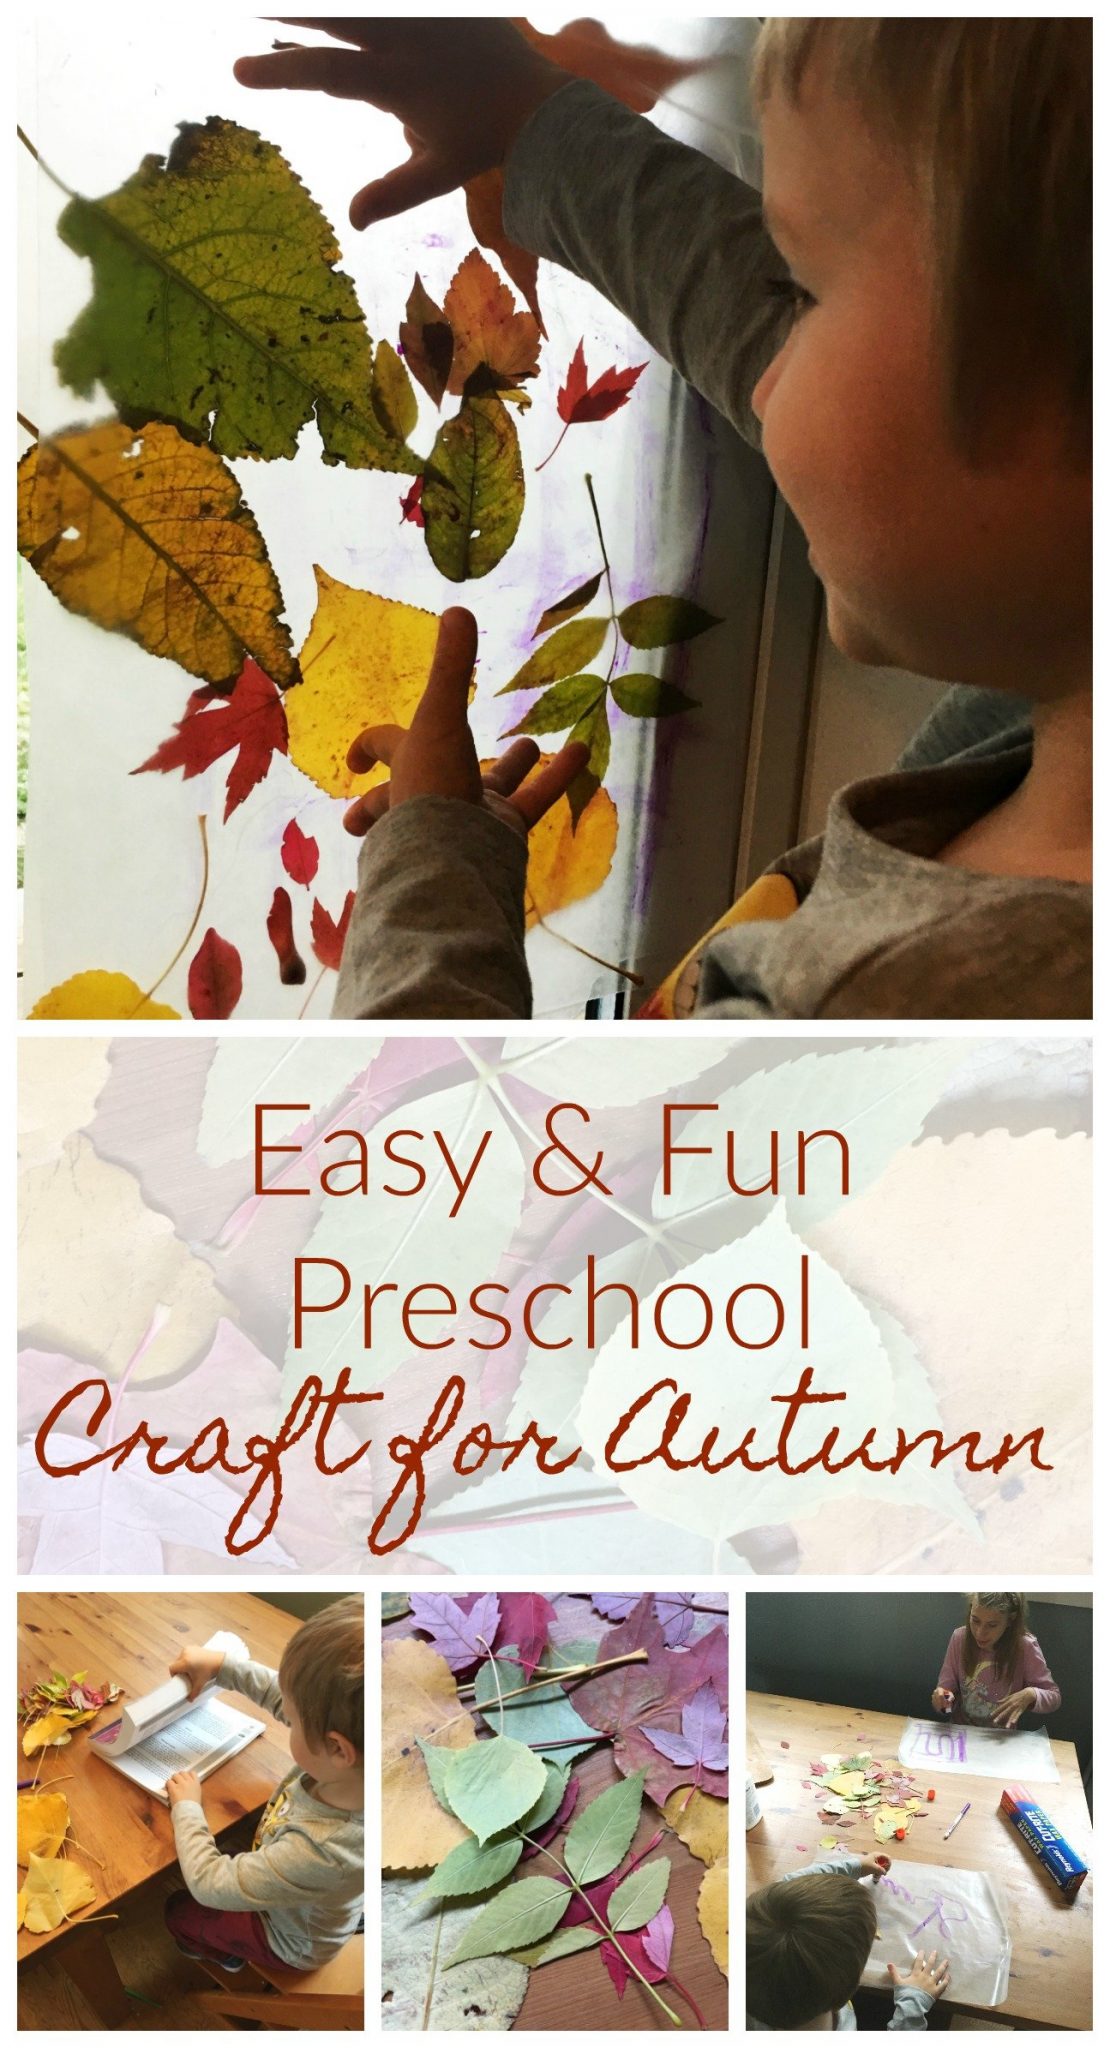
Fall Wax Paper Leaf Craft
This craft is a yearly favorite that we repeat with each season.
Besides fall leaves, we use the same method with tissue paper stars and ‘tree ornaments’ for winter, and hearts for Valentine’s day. Sometimes we even do shamrocks for St Patrick’s day and snowflakes with glitter for January!
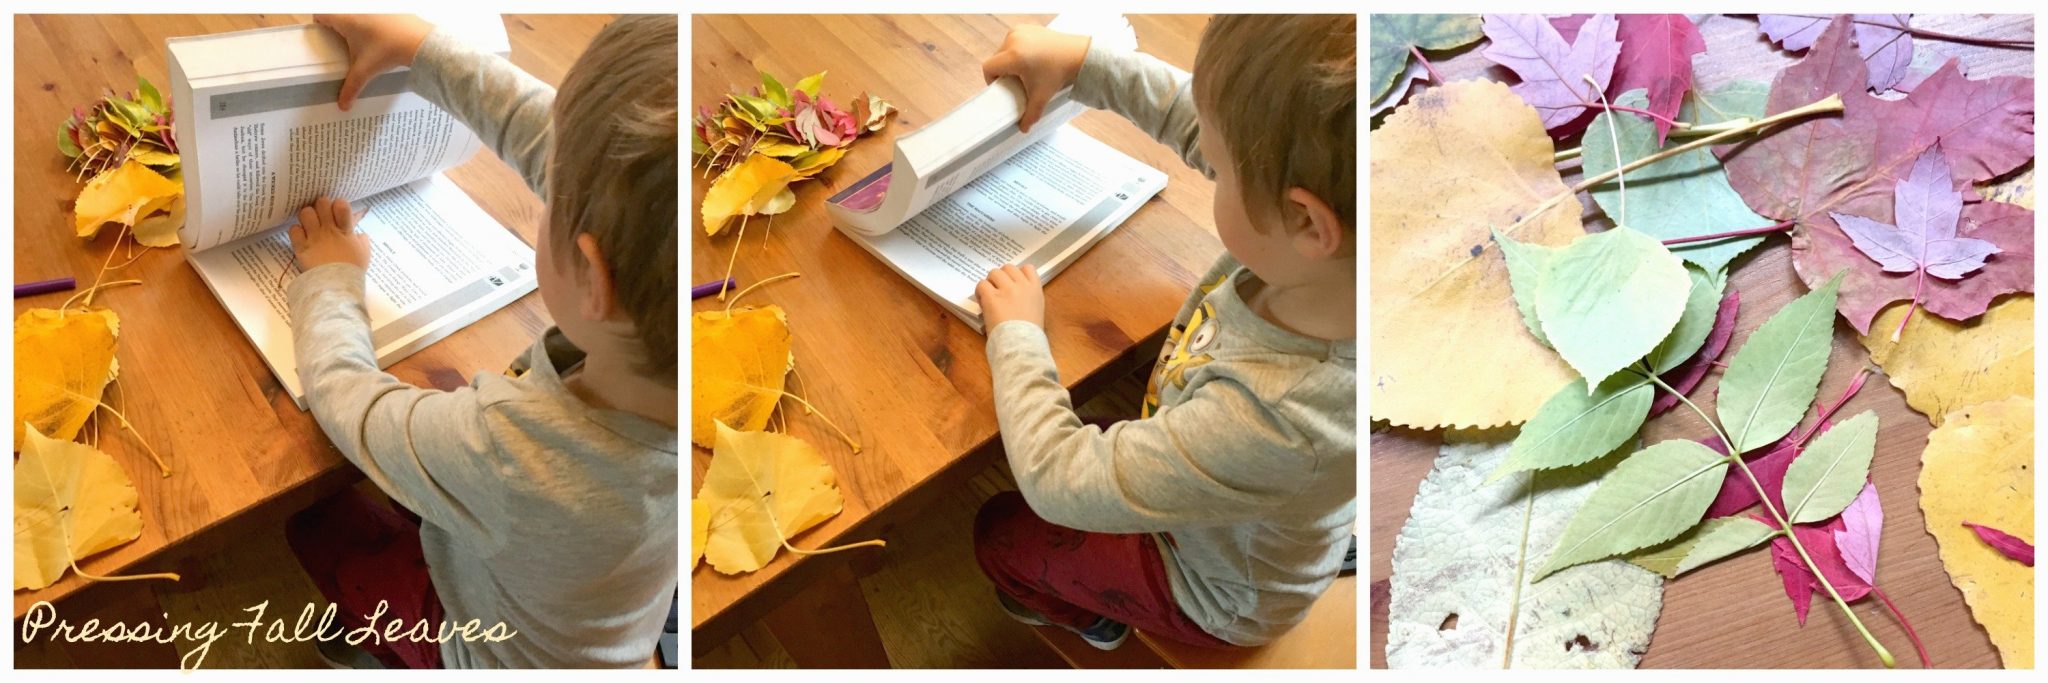
First, gather leaves and press to flatten between the pages of a large book.
While you may want to pick the most pinterest-perfect leaves in their vibrant fall colors, do not be surprised if your children are amazed at the leaf that is crinkly and turning brown, or the half-eaten green leaf that the caterpillar visited. They all make beautiful crafts!
- After gathering leaves, allow to dry if they are rain or dew covered.
- Next, tuck the dry leaves between pages of a large book, not overlapping. There is a chance that they will rot, rather than dry cleanly, so choose a book that is already ‘well loved’ or you aren’t going to be bothered if it gets discolored- like a telephone book.
- Once the leaves are tucked into the book, you can add more books to the top to weigh it down even further. I use a cutting board and a kettlebell to weigh mine down.
- Leave the leaves pressed in the book for at least an hour.
- To preserve the color of the leaves, you will want to press them until they are completely dry; about 3 weeks. In reality, we ‘press’ them until they’re flat, about 2 hours. They will discolor a bit in our window display, but we re-make these year after year, and it doesn’t bother me that they turn colors a little bit.

After pressing
- Once your leaves are pressed, or at least flat, tear out 2-foot sections of waxed paper.
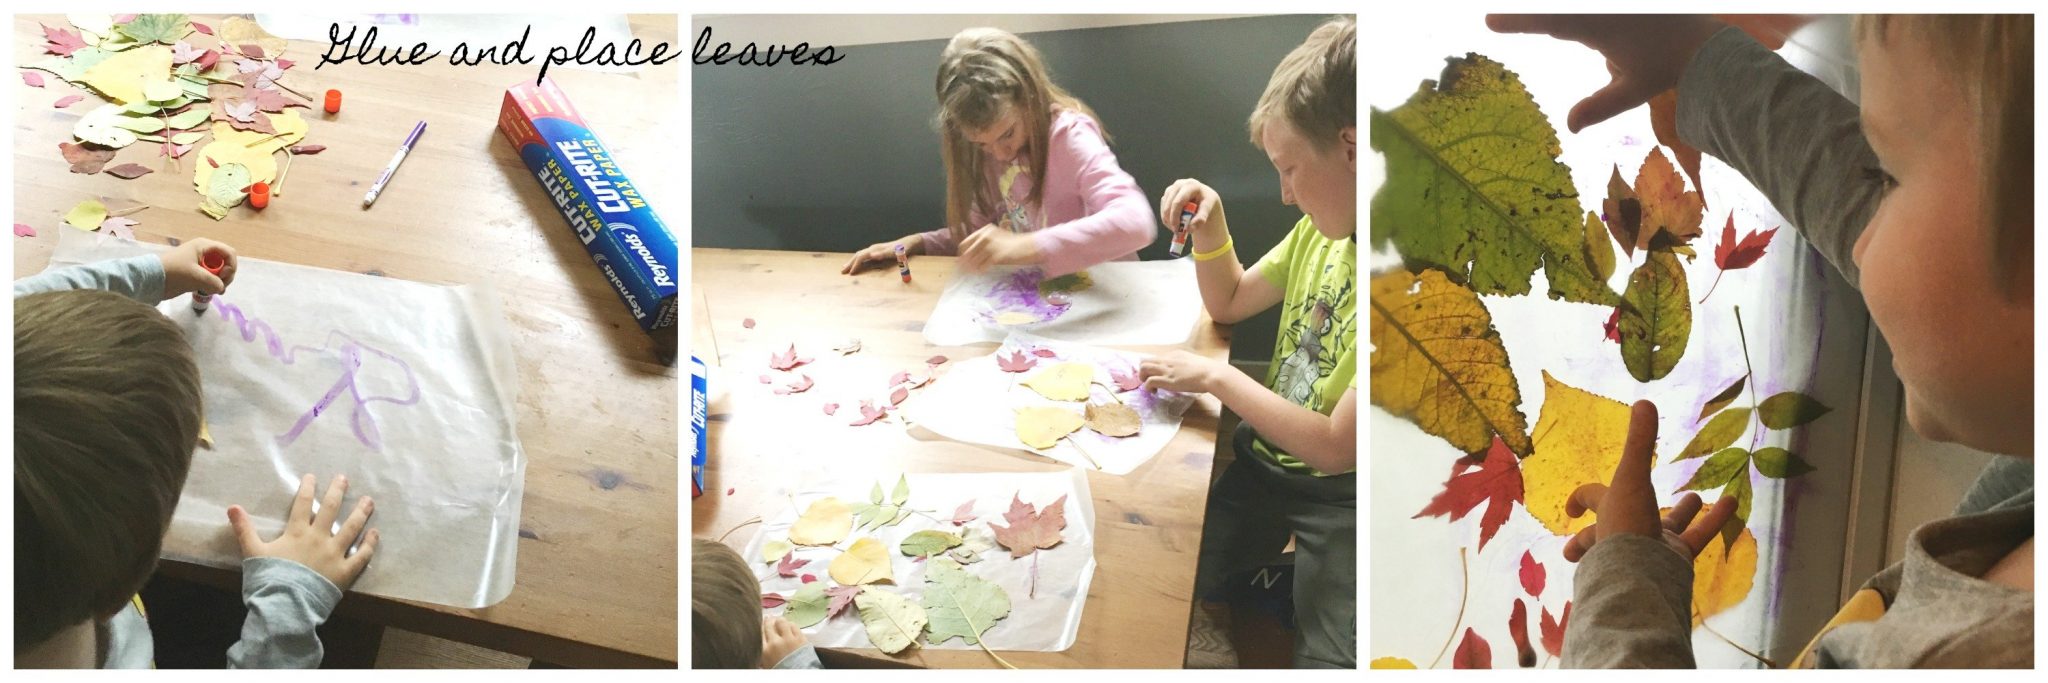
- Using glue sticks (we used disappearing purple), or watered down white glue, cover the waxed paper. The white glue may bead up a little bit, this is okay.
- Place your leaves on your paper, next to each other and slightly (but not completely) overlapping. Try to keep all parts of the leaves on the paper/glue.
- Cover a second sheet of waxed paper, similar size with glue and press, glue side down, over the top of the leaves. Hold the waxed paper (as long as it’s not too drippy) up in the window at this point and admire your work!
- Allow to dry, trim off rough edges, and tape to the window where desired.
- Optional step: You can make a construction paper ‘frame’ for your leaf ‘stained glass’, and glue the waxed paper part in as the ‘glass’. Then it can be hole-punched at the top and hung, rather than taped, in the window for a more finished look.
More crafts:
Homemade Playsilks Made With Food Dye
Make a Waldorf Doll for Infants
Make a Wool Felt Birthday Crown
Learn how to heal leaky gut

60-page ebook of all my best GAPS Diet (Gut and Psychology Syndrome) articles all in one place.