Soothing, relaxing, and fun- these healing bath bombs are fun to make together or as a relaxing project for you to do after the kids are in bed. Each batch makes about 24 fun, fizzy, and luxurious bath bombs. These bath bombs will add healing nutrients to be absorbed through the skin in each bath. The epsom salt in the bath bombs provides needed sulfur and magnesium that can be absorbed gently to assist our body’s detoxification pathways.
 The addition of shea butter and coconut oil moisturize the skin without leaving it greasy, and your choice of essential oil fragrance gives a soft scent. Baking soda reacts with citric acid (vitamin C) to make the fizz, which is fun no matter what your age.
Baking soda also is shown to provide relief to those with dry, itchy skin. (source)
Vitamin C is what is used in commercial products to neuturalize chlorine – both in commercial applications (city water) and in after-swim products!
After swimming, you can avoid smelling like bleach by tossing one of these bath bombs in the tub. That’s it! The ascorbic acid (vit C) will bind to the chlorine and go right down the drain.
These healing bath bombs make fun clutter-free gifts for all the special people in your life.
You will have the best results when you use a food scale to precisely measure ingredients, but if you don’t mind your bath bombs being a little more crumbly, I have provided volume measurements as well.
Up to 30 drops of your essential oils of choice can be added- I like peppermint, citrus, or a germ-fighting blend.
Tip: Read this before using essential oils with little ones so you can make an informed decision.
Ingredients for Healing Fizzy Bath Bombs
8 ounces baking soda (scant 1 cup) (this is the kind I use)
4 ounces Epsom salt (heaping 1/2 cup) (I buy at Costco in their pharmacy section)
Note: You can also use dead sea salt, or unrefined sea salt in place of the Epsom salt.
4 ounces citric acid (1/2 cup) (this is the kind I use)
4 ounces cornstarch or tapioca starch (3/4 cup) (this is the kind I use)
Note: I use tapioca starch because I already have it on hand for Brazilian Parmesan Bread.
1 tablespoon water
2 tablespoons coconut oil (this is the kind I used here)
1 tablespoon shea butter (this is the kind I use)
Note: You can use an additional tablespoon of coconut oil if you do not have shea butter, but the shea butter is really nice!
Optional: 20-30 drops of essential oil of choice (this is the kind I use)
Additional melted coconut oil as needed per instructions
Directions for Healing Fizzy Bath Bombs
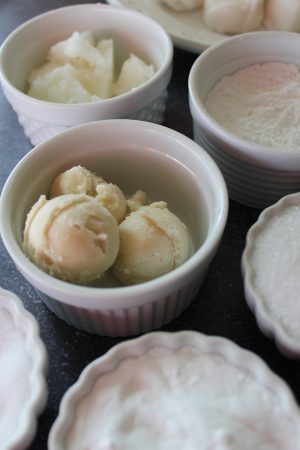
- In a medium-sized mixing bowl combine the baking soda, epsom salt, citric acid, and corn starch. Use a whisk or fork to make sure it is well combined and all the lumps are broken up.
- In a small bowl or jar, combine water, coconut oil, and shea butter, heating over simmering water if needed to melt coconut oil and shea butter.
- Once the shea butter is liquid, swirl jar or mix well with a fork to combine.
- As you stir dry mixture vigorously with a whisk or fork, very slowly add drop-by-drop the liquid ingredients. If you add it too fast, it’ll start to fizz. If this happens, stir quickly until the fizzing stops before continuing to add more of the liquid ingredients.
- Once all the liquid is added, the mixture should stay together when you pinch it. If it crumbles, add more liquid coconut oil, 1/4 tablespoon at a time, until mixture is no longer crumbly.
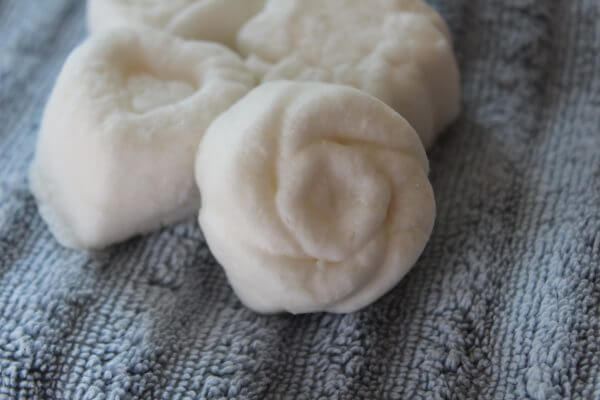
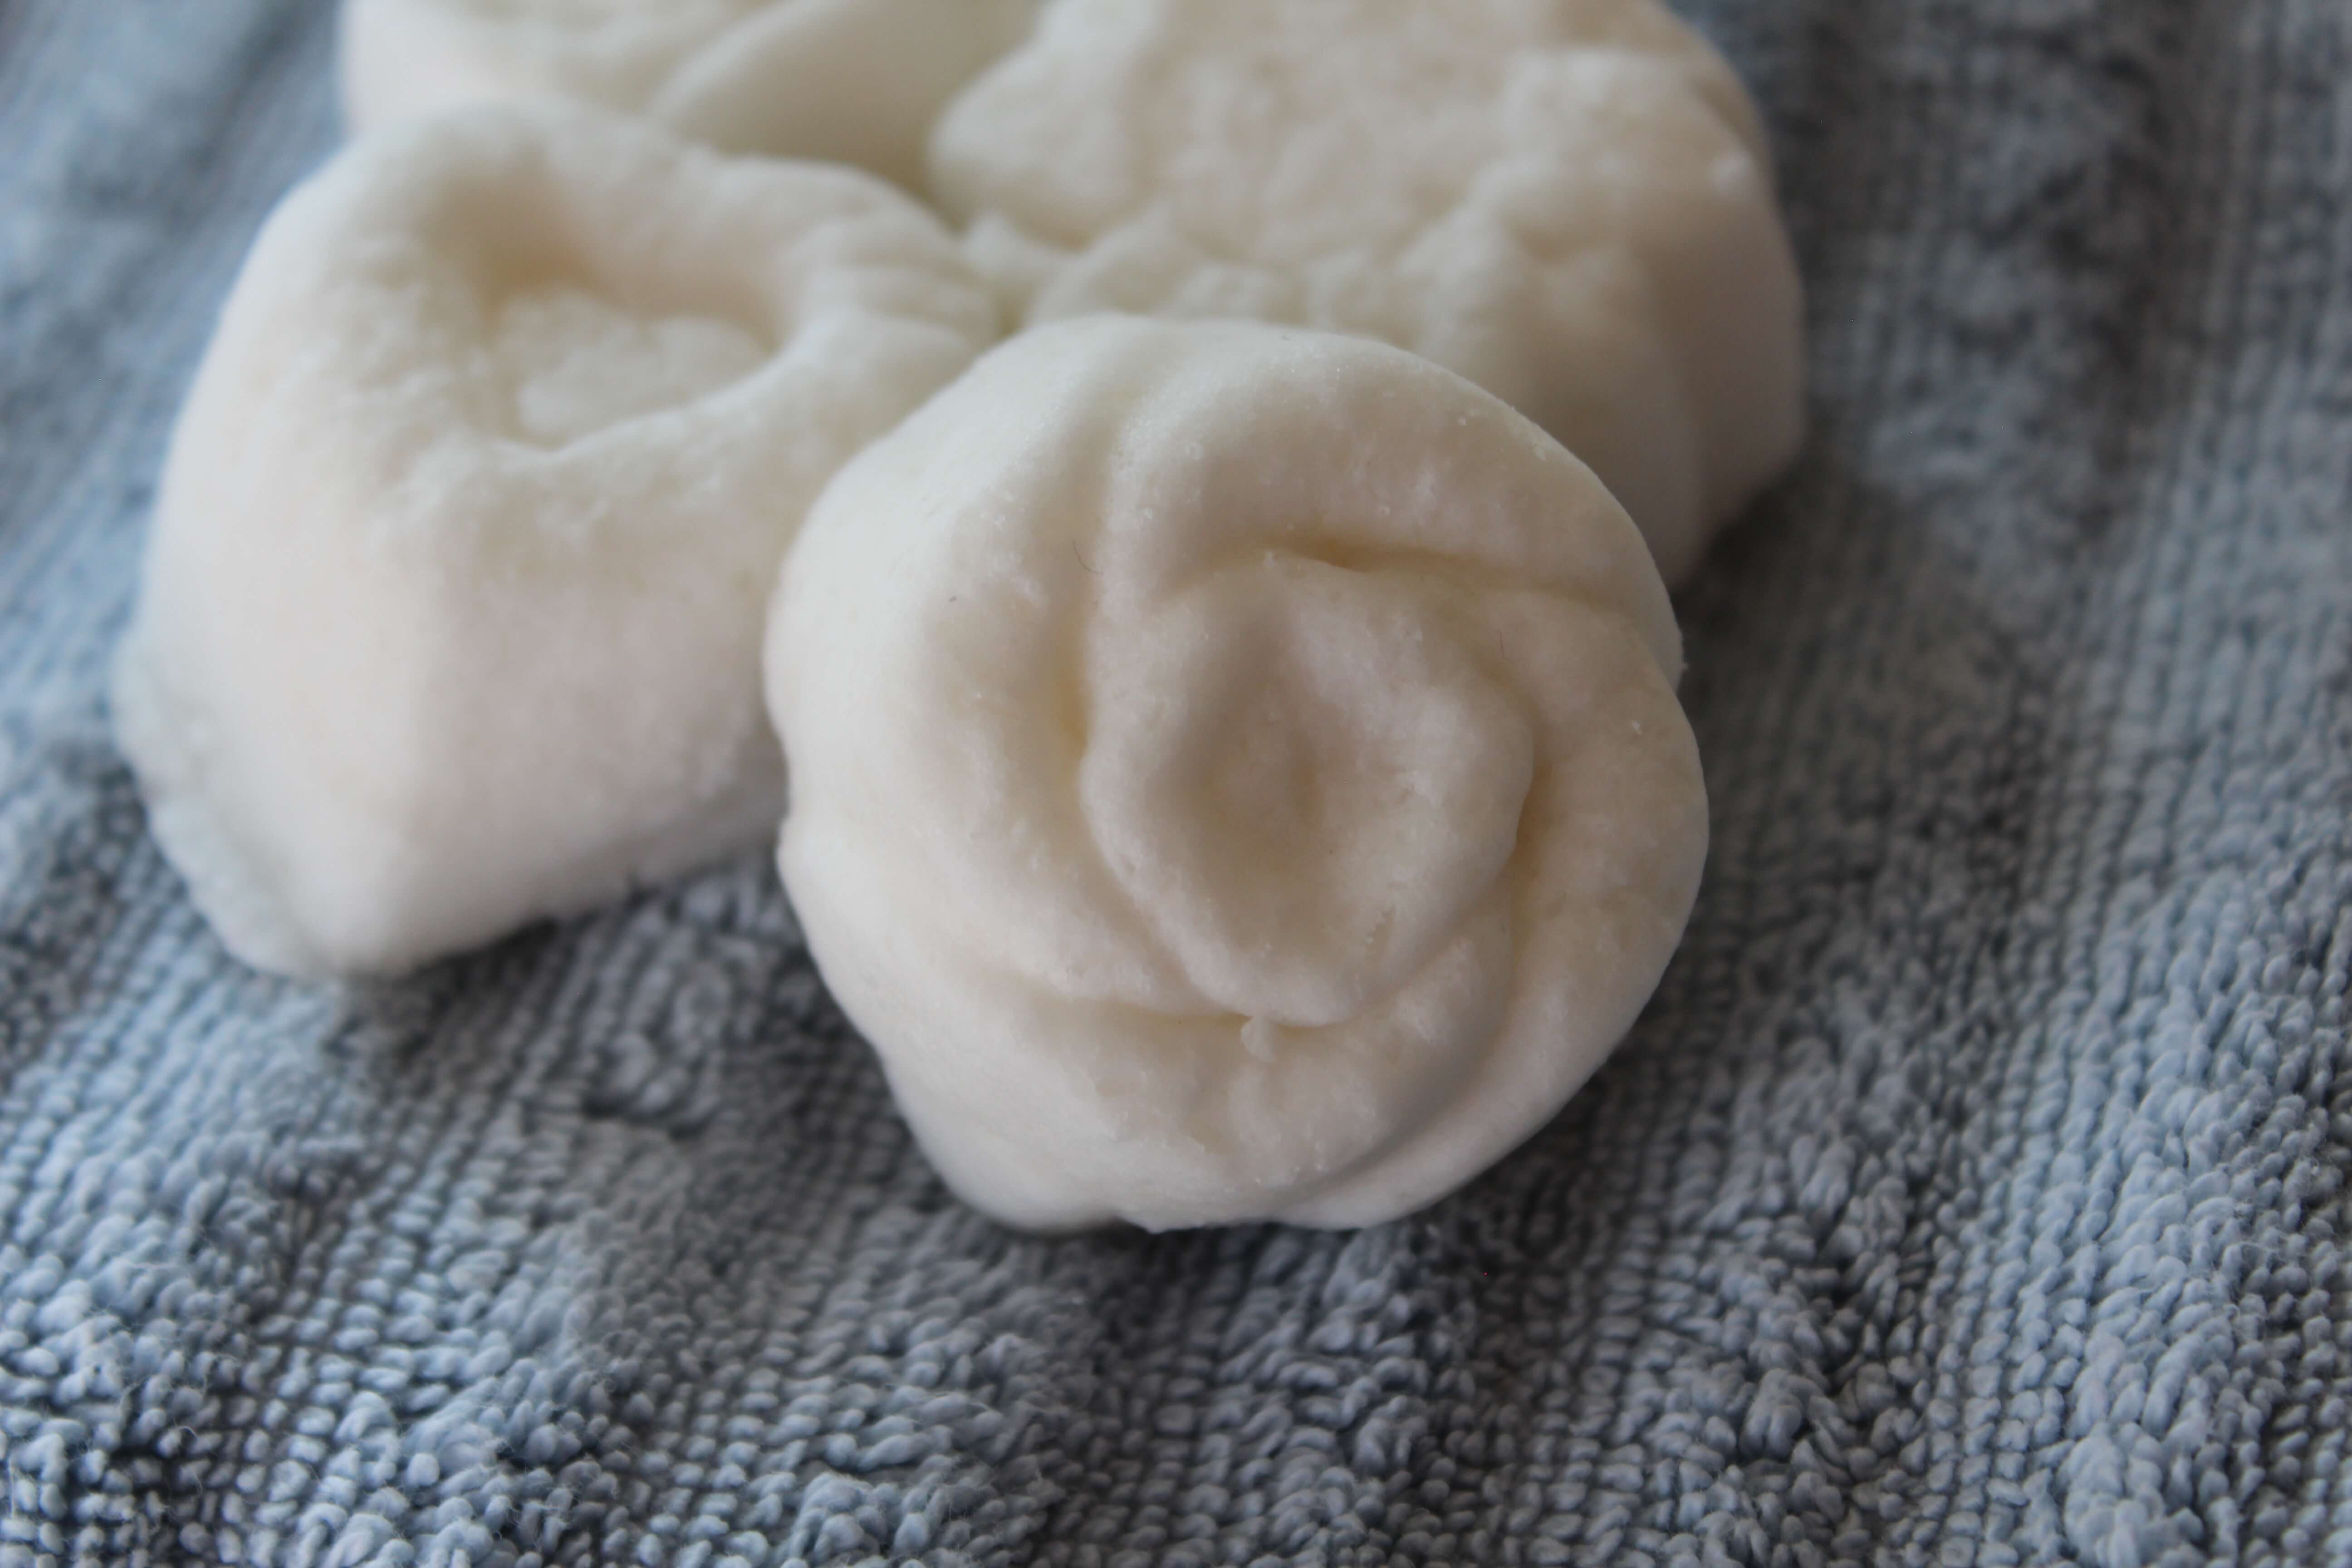
- Form into balls, press into muffin cups, or press into silicone molds firmly. (this recipe will fill two of these molds, this is what I used to get the flower shapes) Leave in the molds overnight or until partially dry, they will pop out better once they are dry.
- Once popped out, allow to dry an additional 48 hours, or pop in the oven on its lowest setting for 20 minutes. They now are ready to use, give as gifts, or display!
Notes for success with your DIY Bath Bombs
- The bath bombs will expand a bit as they dry, you can push them down into their molds if you wish as they dry.
- Adding the liquid mixture slowly and measuring accurately will give you the best success, if you do this you will get hard bath bombs that hold their shape well and fizz a lot in the bath.
- If measuring and/or adding the liquid goes a little sideways (this happens when I have lots of helpers with this project ;) ) then your bath bombs might be less dense, more crumbly, or turn to crumbles. Have no fear, the crumbles are now pixie powder for the bath! This will still fizz and bubble and provide the same healing benefits.
- Dried herbs, citrus zest, flower petals, etc, can be added to provide color.
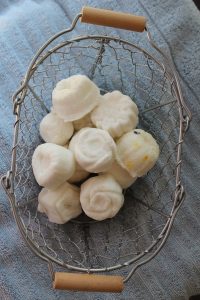
- Store your bath bombs in a container that is not air tight. Displaying them in the bathroom on a soap dish or small basket is a great way to store them.

Learn how to heal leaky gut

60-page ebook of all my best GAPS Diet (Gut and Psychology Syndrome) articles all in one place.


Í would love to try this out, this can be use for kids bath? My daughter love to take bath but for now we don’t add anything to her water. Or do you think just plain Epson salt would be better.
Paula Ceballos
I add these to my kids’ bath, starting when they can sit up and take a regular bath.
Can you use arrowroot instead of the other starches?
So are you using citric acid or ascorbic acid? They are different, but noted interchangeably in your blog post. Thanks so much for your clarification 😊
Citric acid! I’m sorry, I’ll go correct that, thanks for letting me know.
Citric Acid is NOT Vitamin C at all! So these are NOT vitamin c bath bombs unfortunately.
I just realized I forgot to add the baking soda to the mixture 🤦🏼♀️ How much will this change the outcome of the bath bombs? I’m not sure where my brain was while making these!
This is a super late comment, but how would be the best way to add polysorbate 80 to this recipe? Would it work to do 1.5 tsp polysorbate 80 and reduce the water amount to 1.5 tsp as well?