Grilling for Busy Moms
Think you don’t have time to learn how to grill? Or that it’s overly complex and one more thing you don’t need to add to your life? I’m here to prove you wrong! Or at least encourage you to give outdoor grilling a chance.
Maybe you have been led to believe that grilling is complicated and takes years to master, like I was. While there are some key things you’ll want to keep in mind to have fantastic results every time, it’s really quite easy to master! I share a quick introduction that will have you flipping burgers, searing steaks, and even frying bacon and eggs like a pro this week!
Top 3 Reasons Moms Need To Grill
Fire and little kids, sounds like a recipe for disaster, right? No, not at all! Children quickly learn how hot the grill is, just as the hundreds of thousands of children who have fire or wood heat as their primary heat source learn to use caution around it. We had a wood stove when my oldest was little, and while other limits were absolutely tested, the ‘hot, no’ stove really was easy for her to grasp. Don’t let the fear of fire prevent you from these awesome benefits of outdoor grilling in all weather.
1. Outdoor Grilling is Quick and Easy
First, grilling is quick and easy. The main griller in your household may have led you to believe otherwise, but once you know your grill and a few key steps (outlined below), you can quickly have absolutely delicious protein, and even fruit and vegetables, in no time and with very little effort!
2. Outdoor Grilling Keeps the Mess Out of Your Kitchen
I love fat. I love how it tastes, what it does for my energy, my skin, my mood, my weight… everything. We aren’t afraid of fat any more, and for good reason! Fat is awesome.
Know what is not awesome? Grease splatters. On the wall, on the stovetop, under the microwave, on the knife block, and down the front of the oven. I love fat, I just don’t love it coating every surface around my stovetop. Enter the grill… When you move to the grill, you
But wait, you say. What about browning meat? Frying eggs? Cooking bacon?
Oh, all of those are excellent on the outdoor grill as well! All you need is a cheap cast iron skillet (Lodge is made in the USA and what I typically use) and you can cook all that and more right outdoors.
3. Outdoor Grilling Means More Outside Time
In a world where constant supervision of children is expected, our kids are getting less outside time. Grilling is a great way to supervise the kids while you cook your meals, and enjoy the benefits of fresh air (and breaks from media!) as well.
If your kids are anything like my kids, they always want to be right where you are. As I’ve been typing this article up on my bed, they’ve been in and out at least half a dozen times in the last 20 minutes alone! The same is true for my kitchen… when I’m in the kitchen, so are they. This is great for them to learn and bond, but it’s even more inside time.
That’s where the grill comes in. Mom goes out to grill (even in cold weather), and the little ducklings follow and then get re-engaged in the sandbox, with the soccer ball, working on their snow fort, or by building a fort with the old tires we have out there.
For me, it’s easy to get so caught up in housework that I go from house to car to house and barely get outdoors at all – so forcing myself out to cook is a great habit for myself as well! If it’s a nice night, with no bugs, we’ll often extend the fresh air and eat outdoors too, balancing plates on knees right there on the porch.
Introduction to Outdoor Grilling
Daily grilling is a really nice part of our day. I love cooking, and I’m going to be spending time doing it anyway, so to be able to have more outdoor time is welcome and beneficial.
And we all think that food cooked outdoors tastes better anyway!
Preheat your grill well
The first thing you need to know about outdoor grilling is that it’s essential to preheat the grill well. In the summer for medium heat (browning ground beef, cooking bacon) this takes about 10 minutes. For high heat give it 15 to get the grill really hot. In the winter add 5 minutes to this temperature, depending on your outdoor temperature.
Preheating your grill makes it so you get that crispy crust and sear on your steak and beef, and don’t just melt the meat to the grates. After pre-heating, run the cleaning brush over the grate again to make sure you’re starting with a clean surface.
Know your hotspots
Each grill will be a little different, and this is where a grill master can work wonders at their own house, and yet struggle on a different grill. Our home stovetop is relatively even all over, but grills tend to have certain hotspots. Mine are front and center.
Once you know where your hot spots are, you may want to initially put meat in that area to give it a good sear. As you cook it through to desired doneness you may wish to move it away to continue cooking.
Set your timer!
Out of sight, out of mind – when the lid is closed or your back is turned, it’s easy to get caught up in chatting or weeding or watching the kids’ latest sandbox creation. Use your timer, and always hit ‘repeat’ not ‘turn off alarm’ until your food is off the grill and the grill is turned off.
Clean before and after use
Clean your grill after cooking, and then again after pre-heating. Pre-heating really makes it easy to get the last bit off to start with a clean surface.
Wire-bristle brushes have gotten flack on the news for sticking to the grill and getting stuck in people’s throats <yikes> but they really do work super well. I do just glance at the grill again before using and make sure none are stuck to the grate before setting our food down.
This is the grill set, including wire brush, that I use and recommend.
Turn the Grill and tank off after each use
Last, after cooking and taking your food off (I like to do this before even taking off the food) double check that you’ve clicked all the knobs into ‘off’ and then also close the valve on the propane tank for extra insurance.
Running propane out unattended and unlit is a huge hazard and makes for a disappointing grilling session the next time you are ready to eat! Make sure you double check that it’s all off – it’s not like the oven/stovetop that we walk by dozens of times a day and will catch being on. It’s worth using extra precaution for an outdoor grill.
Get Started Grilling
In our Freezer Cooking Class, there is an entire section of grill-friendly foods that you can thaw and pop right on the grill! Included in this class are family favorites such as:
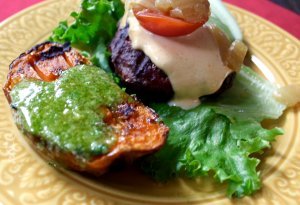
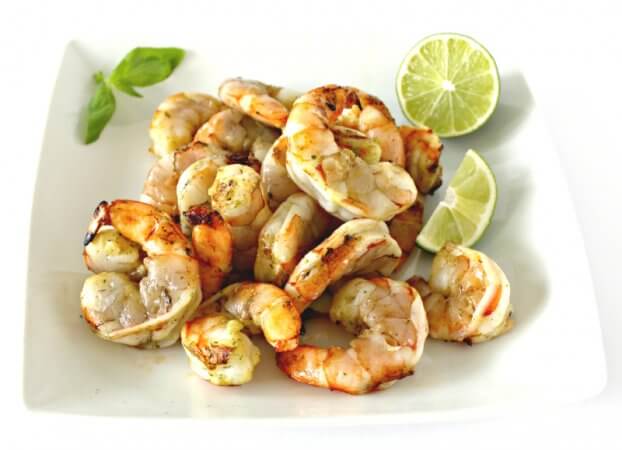
- Basil-Lime Shrimp (above)
- Lemongrass pork
- Three kinds of chicken thighs
- Best Burgers
- Grilled Sweet Potatoes (I show you how to par-boil on the stovetop or in the Instant Pot for fast meals!)
- and condiments like Perfect Probiotic Pickles, Burger Sauce, and Caramelized Onions.
Stock your freezer with delicious grill-friendly meals today, to enjoy extra outdoor time and a kitchen that stays clean tomorrow! Click here to buy The Grain-Free Afternoon Freezer Cooking Class.
Grilling Equipment We Use & Recommend
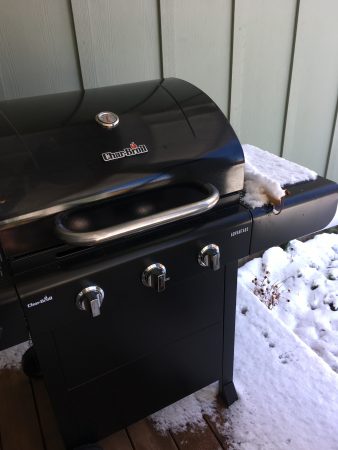
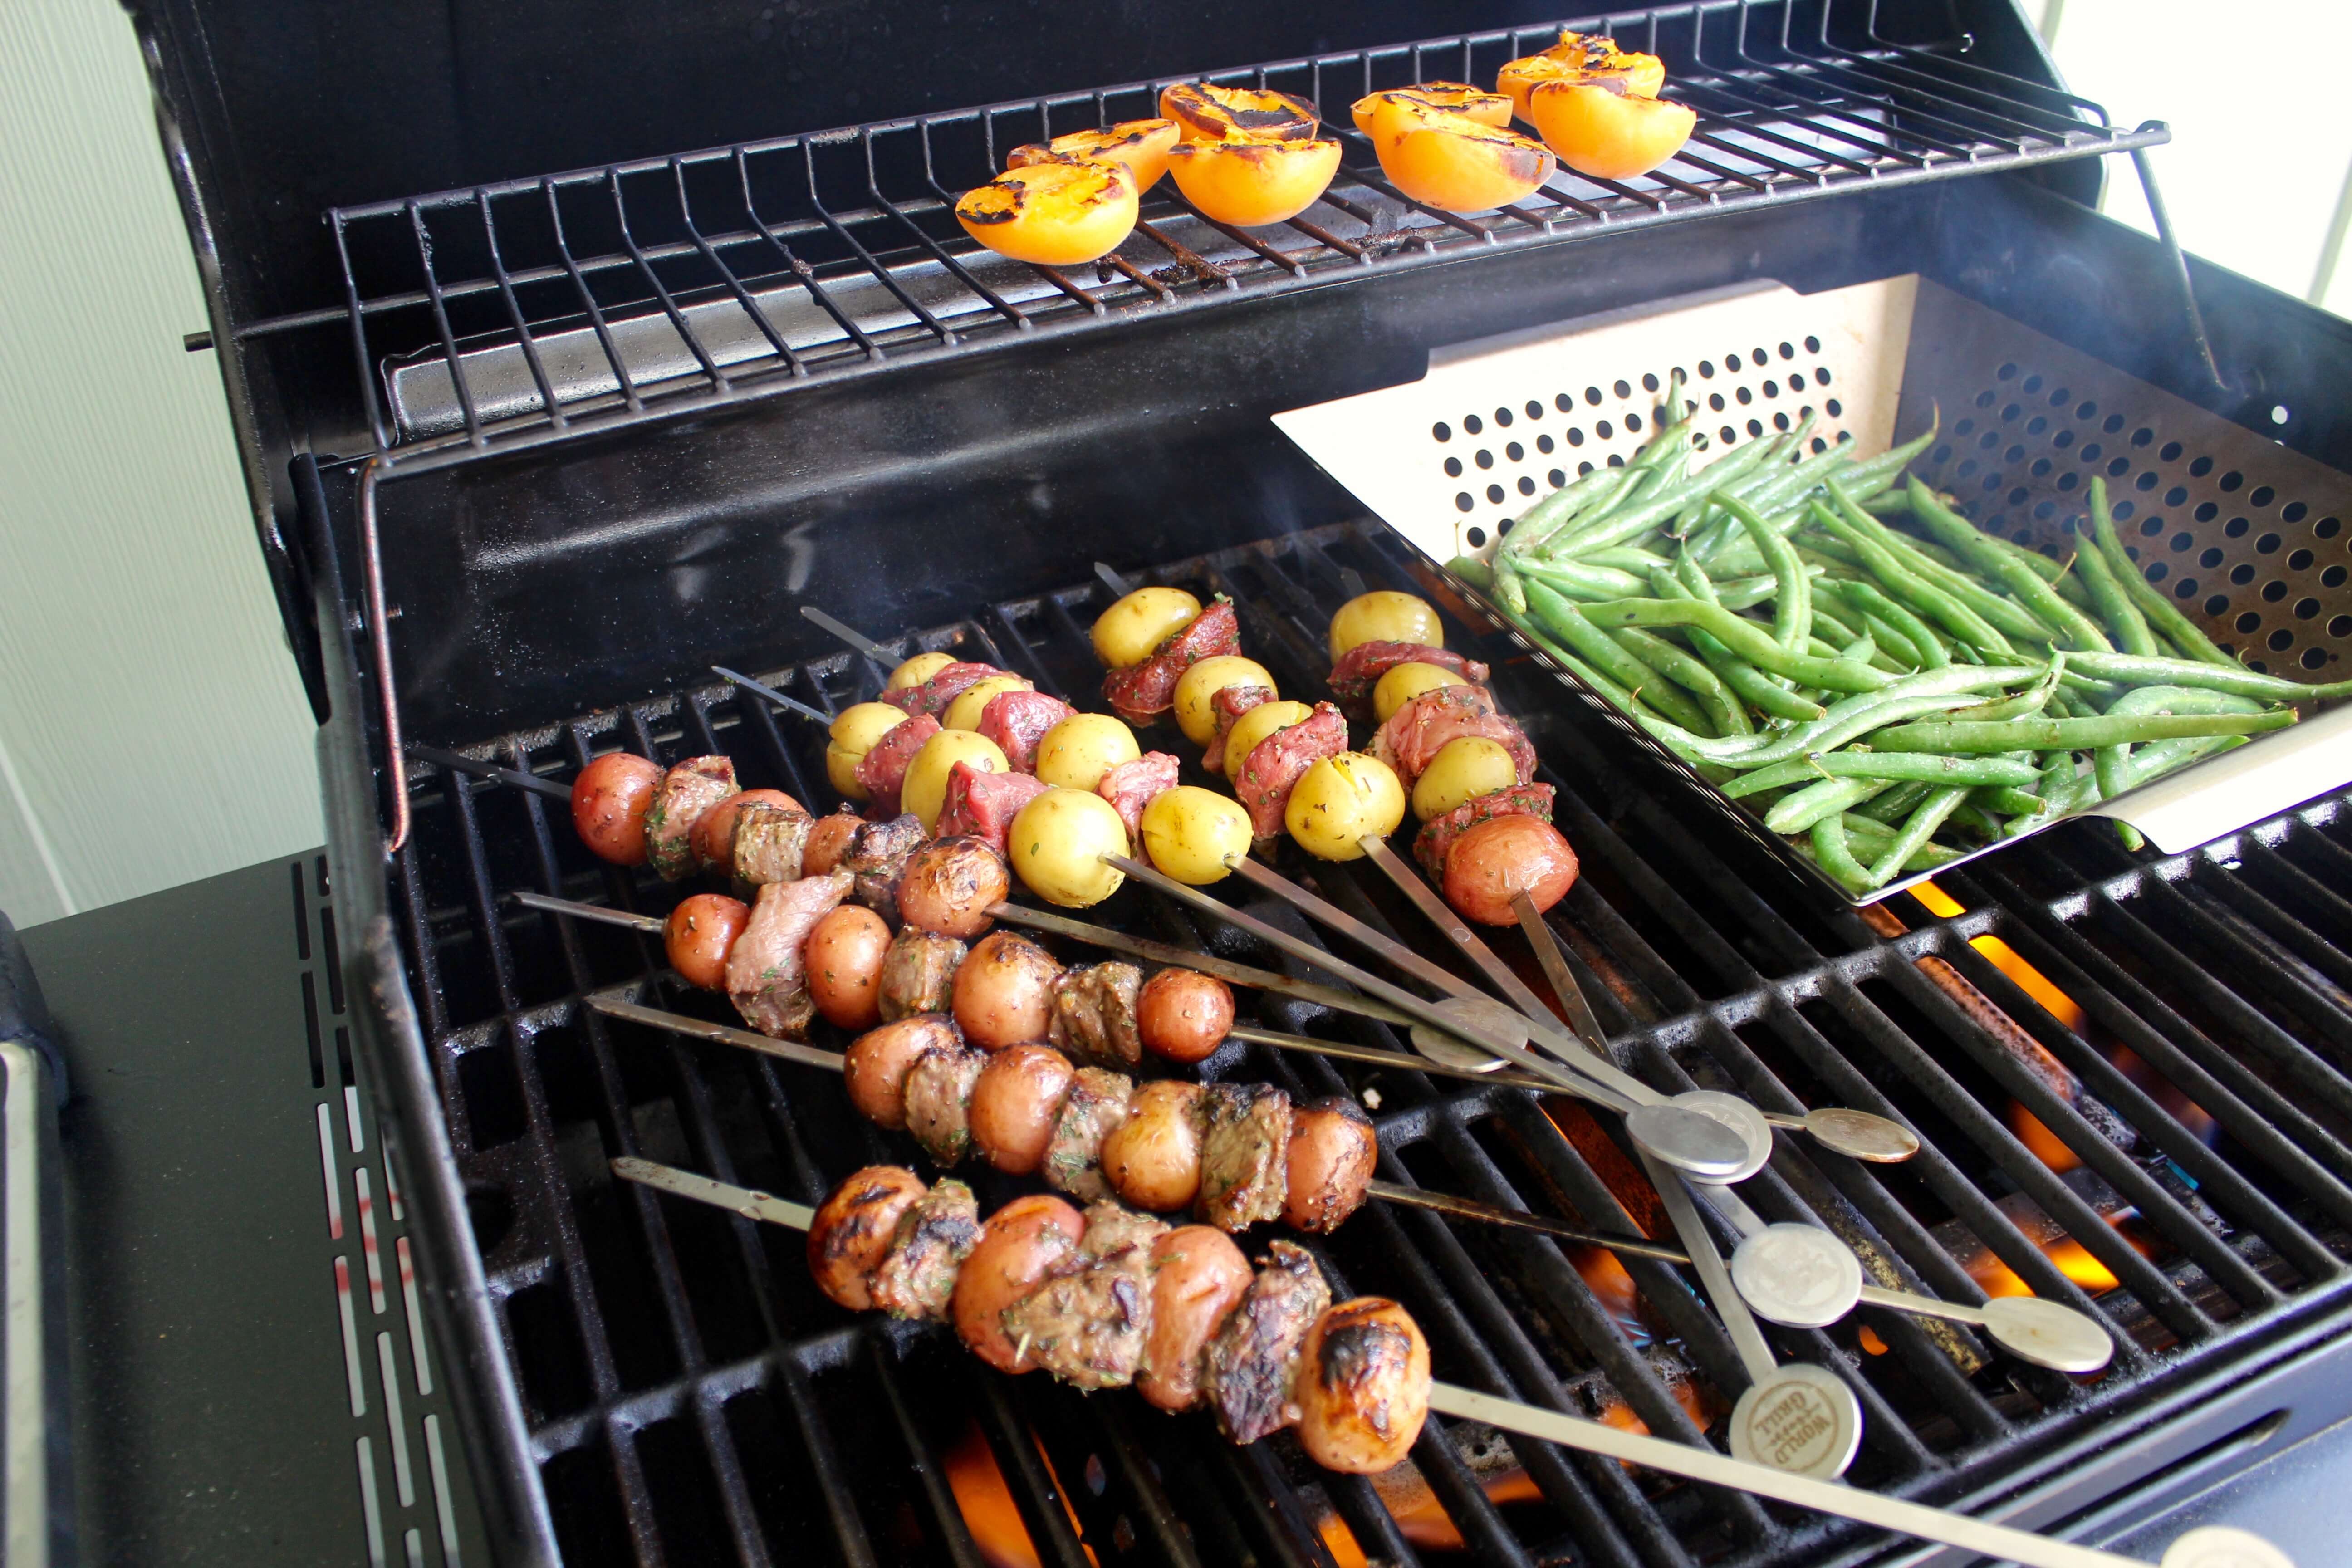
This grill is large enough that we can cook 3 or more dishes on it (meat, veggie, another side) or cook meat for a crowd when we have another family over. When it’s just me, or we’re not cooking much, I usually turn on the hottest burner and use that one.
The rack above is perfect for keeping food warm that is ready to come off the flame. We most often use this for corn on the cob, small burgers or pieces of chicken that are done quickly, and fruit.
Rip-stop grill cover keeps the dust out and your grill shiny and ready to cook on at a moment’s notice! This one fits most 3 and 4-burner grills, including the Char-Broil linked above.
A grill brush is essential for keeping your grill cleaned. Be careful to check for any wire bristles if you see them coming loose but I’ve never had a problem with them.
A 10 or 12-inch cast iron skillet is exactly what you need for browning meat, frying bacon, cooking eggs, and more! Keep your kitchen clean by cooking outdoors with one of these tools. This Lodge Cast Iron Skillet is a workhorse, inexpensive, and made in the USA.
Grill sets are nice, and I own one like this one, but unless you have somewhere outdoors to hang them they’re tough to store. I end up using the slotted spatula out of my kitchen on the grill more often than not, as well as my salad tongs for turning food. Everything is holding up just fine!
Grilling Recipes That Are Perfect To Start With:
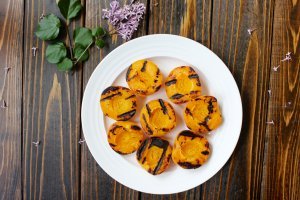
- Sweet and Tangy Grilled Apricots
- Fresh Lemongrass-Ginger Pork
- Grilled Sweet Potatoes
- Chicken Pepper Poppers
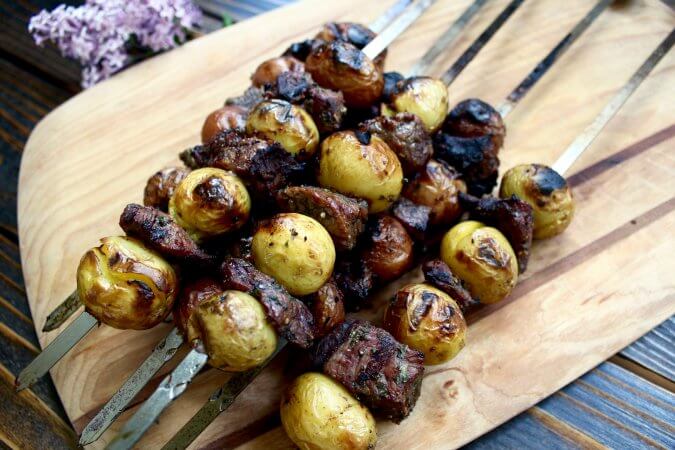
- Steak and Potato Skewers
Learn how to heal leaky gut

60-page ebook of all my best GAPS Diet (Gut and Psychology Syndrome) articles all in one place.



This was such a helpful and encouraging article!
It’s reminded me of a trick my dad taught me years ago about how to cook a whole chicken or roast on the grill. He preheated the entire grill on high; turned off one side; browned/crisped the chicken on the on/hot side then moved it over to the off side (keeping the on-side on). He then closed the grill and set the timer for an hour or so (depending on the size of the bird, of course) and let the radiant heat slowly cook the meat. The trick to success with this is FAITH haha. You’re not supposed to open the lid until the timer is done (let’s the heat out).
Thanks so much for the post!